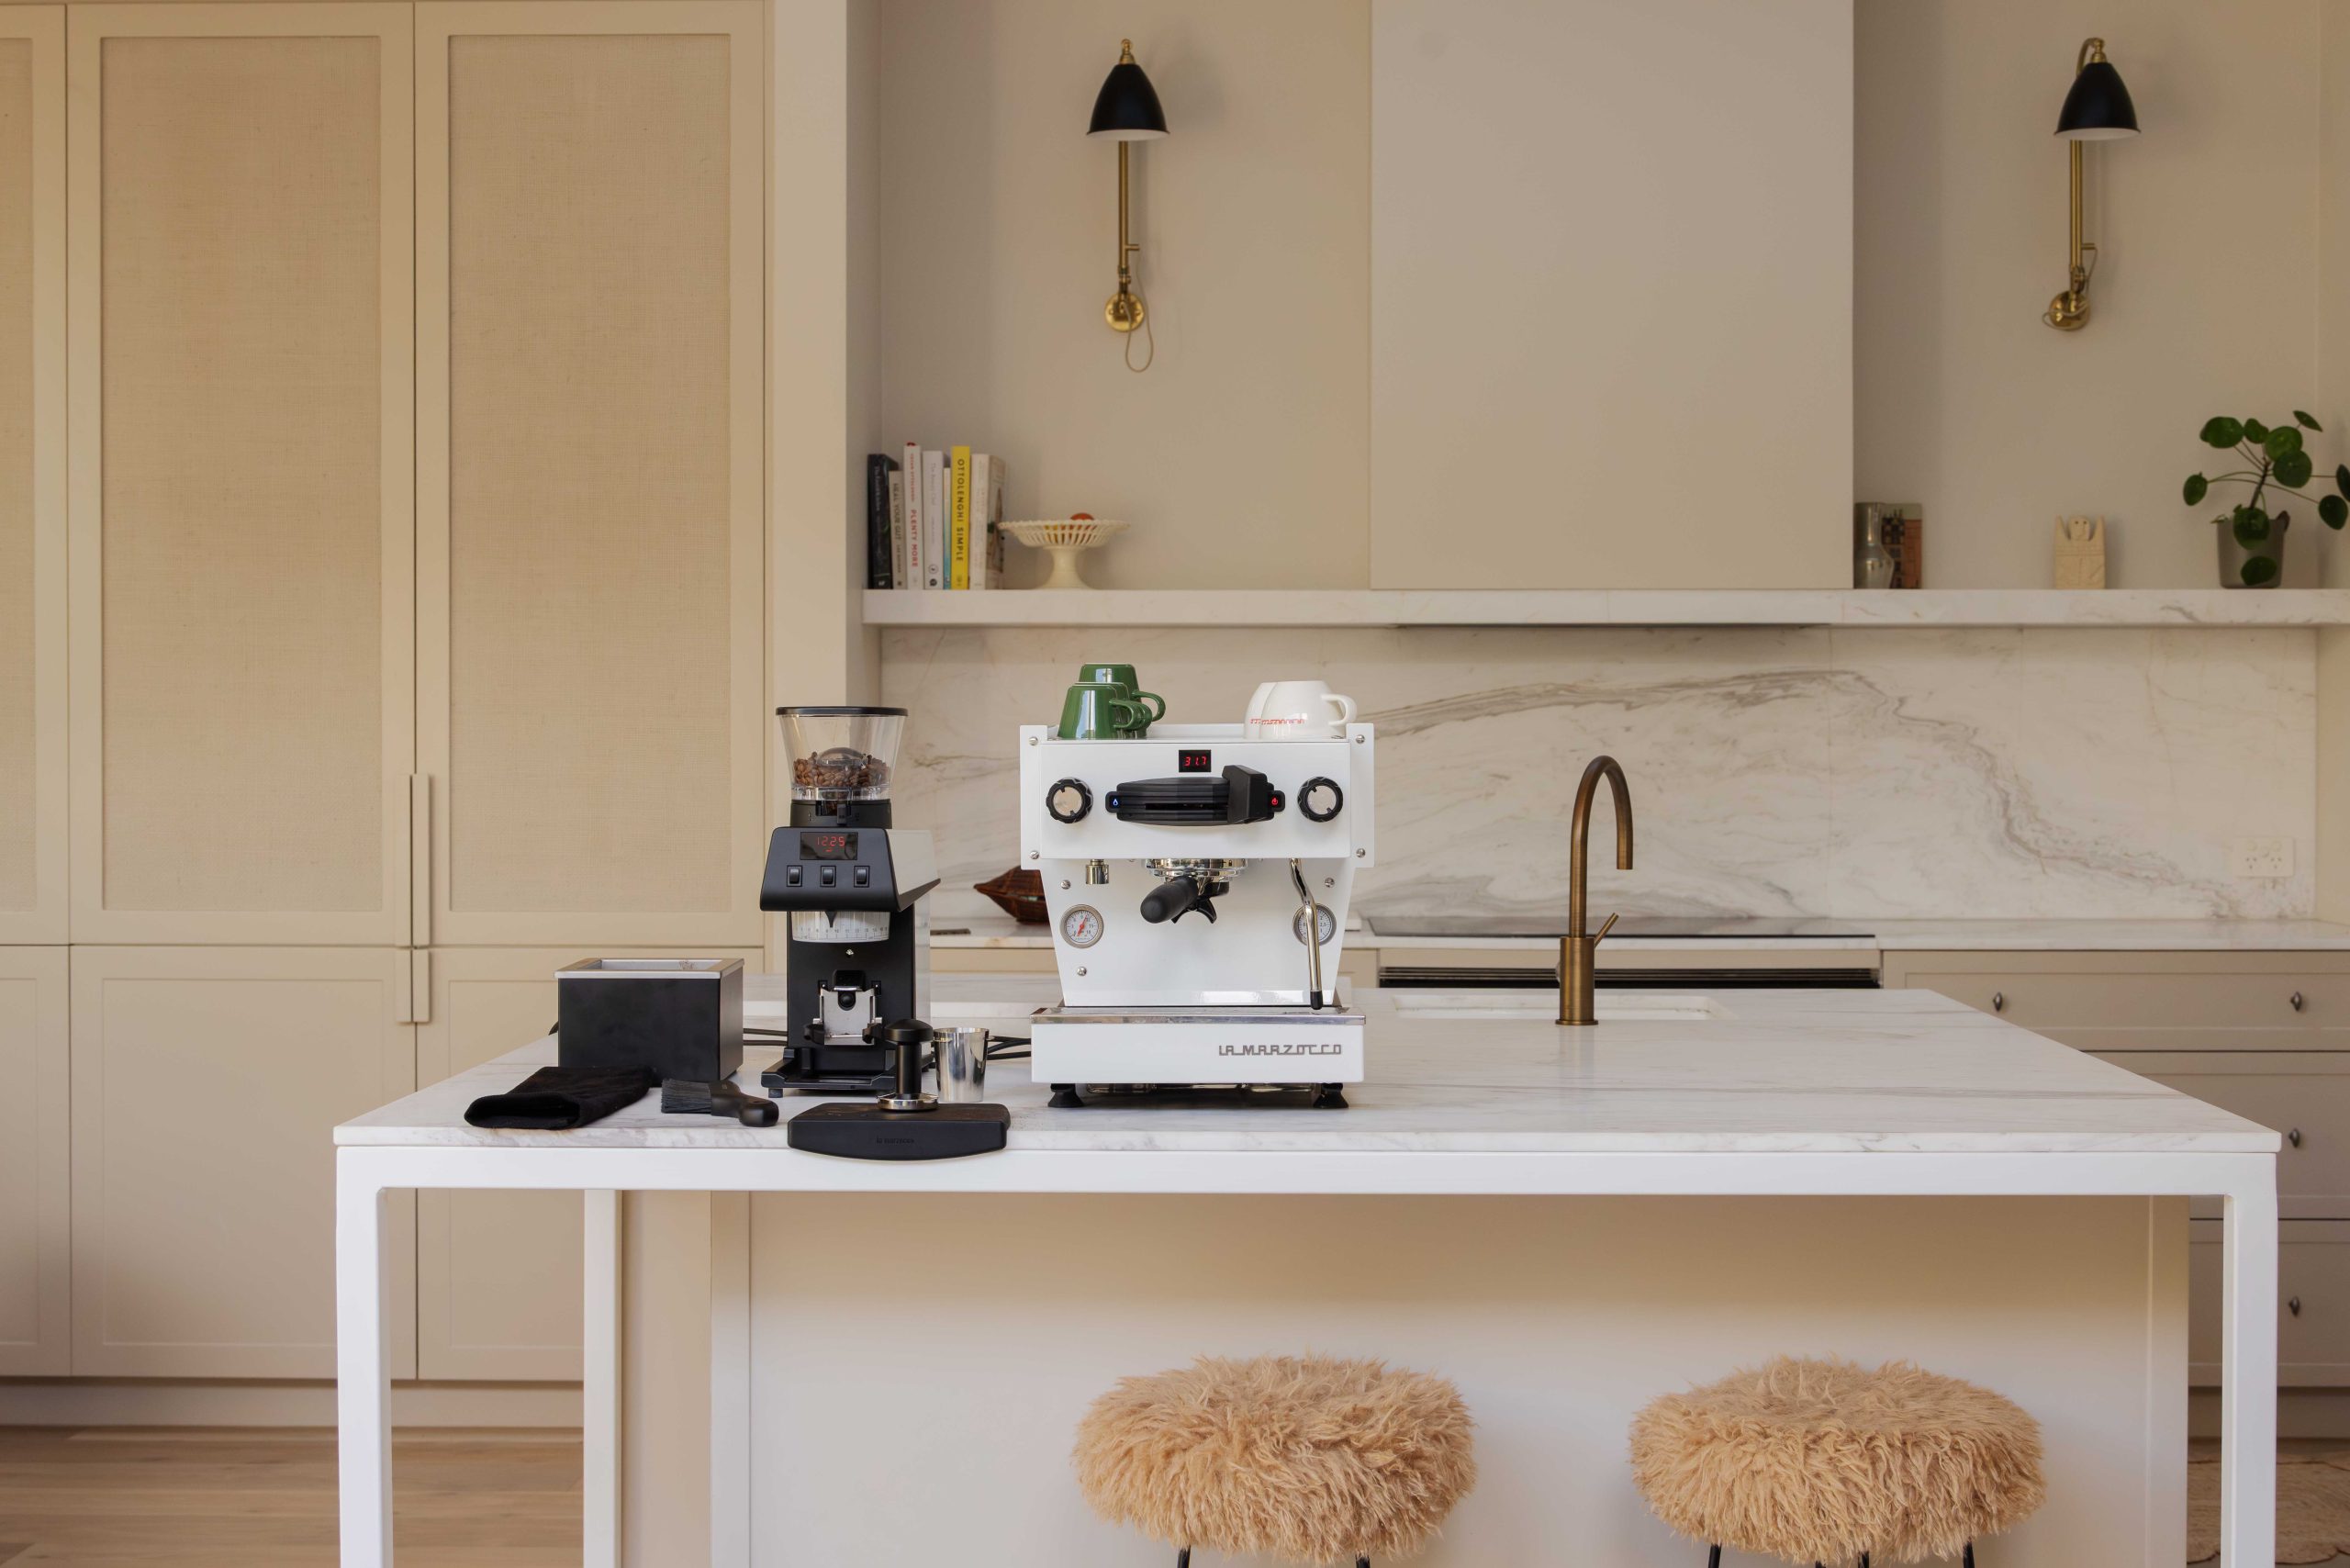
Create your home espresso setup with guidance on bench space, water, grinder settings, brew ratios and daily care for your La Marzocco Home equipment.
To set up your home espresso machine, plan your bench space, position your machine and grinder, check water and power requirements, gather your tools, set your dose, refine your recipe and establish a cleaning routine. These seven steps give you a practical starting point for preparing coffee with attention and consistency.
La Marzocco Home supports your espresso practice with equipment and education. Your home espresso setup should give you room to work, access to suitable water and a way to measure what goes into each cup. Begin with your equipment’s instructions, then develop a routine around the coffee you enjoy.
Quick guide to your home espresso setup
- Measure your bench space: Check equipment dimensions and allow access for brewing and cleaning.
- Position your machine and grinder: Arrange your La Marzocco Home equipment around a repeatable preparation sequence.
- Check your water and power requirements: Test your water and follow the equipment’s installation instructions.
- Prepare your espresso tools: Gather your scale, tamper, cups, pitcher and cleaning supplies.
- Set your grinder and coffee dose: Match your dose to the basket and record your settings.
- Dial in your espresso recipe: Measure dose and yield, taste, then adjust one variable.
- Establish your cleaning routine: Follow the care instructions and plan your professional servicing.
Build your home espresso station
Build your home espresso station around safe installation, practical access and measured preparation. Follow these steps alongside the manuals supplied with your machine and grinder; a general setup guide cannot replace model-specific instructions.
1. Measure your bench space
Measure your available bench width, depth and overhead space before positioning an espresso machine. Check the current dimensions for your chosen model, then consider how you will reach its controls, refill water, handle the portafilter and use the steam wand.
The Linea Micra has a compact body, but the equipment footprint is only part of your planning. Leave a working area for grinding and tamping, and check the installation guide for clearance requirements rather than assuming a universal distance.
Confirm that your surface can safely support the equipment. Keep access for cleaning and moving cups in mind when assessing cabinetry and nearby appliances.
2. Position your machine and grinder
Position your espresso machine and grinder so you can move from grinding to tamping and brewing with your tools close by. Follow the manuals when choosing a stable, level location and arranging power connections.
Place your grinder beside the machine where you can reach the hopper and grind controls. The La Marzocco Pico includes a dose cup and portafilter fork, giving you options for collecting your coffee grounds.
Keep a clear preparation area beside the equipment. Before settling on the arrangement, check that you can remove the drip tray, replenish water and use the milk pitcher comfortably. Keep electrical connections away from water and follow the equipment’s safety instructions.
3. Check your water and power requirements
Check your water against La Marzocco’s specifications and confirm your power supply against the equipment’s rating plate and installation guide. Filtration requirements depend on your location and water composition.
La Marzocco’s Australian water requirements explain why you should test water after filtration. A filter’s presence alone does not establish that the water is suitable. Ask the team about treatment options if your results fall outside the recommended parameters.
Use the supplied operating and installation documents for electrical requirements. If you want a plumbed-in setup or have concerns about the outlet or circuit, consult the appropriate qualified technician. Do not modify the machine or electrical supply yourself.
4. Prepare your espresso tools
Prepare a scale, a tamper suited to your basket, cups and cleaning supplies before brewing. Add a milk pitcher if you make milk drinks, and keep separate cloths ready for your steam wand and work area.
Check the contents supplied with your specific machine before purchasing accessories. A scale helps you measure both the ground coffee in your basket and the liquid espresso in your cup. These measurements make your recipe easier to repeat and refine.
Arrange the tools in the order you use them. Keep your basket clean and dry before dosing, and place your cleaning supplies somewhere accessible so care becomes part of your preparation routine.
5. Set your grinder and coffee dose
Set your grinder for espresso and choose a coffee dose that matches your basket’s recommended capacity. Weigh the grounds rather than relying only on the programmed grinding time.
The Pico’s micro-stepped adjustment lets you change grind size, while its programmable doses are timed. Moving towards smaller numbers produces a finer grind; larger numbers produce a coarser grind. Follow the manual when making adjustments.
Begin with the recipe recommended by your coffee roaster, if available. Keep your dose consistent while testing grind changes, and record the result. When you change coffee or grind setting, recheck the weight of your programmed dose before relying on it.
6. Dial in your espresso recipe
Dial in espresso by measuring your ground-coffee dose and liquid yield, recording shot time and tasting the result. Change one variable at a time so you can understand its effect.
A brew ratio describes the relationship between ground-coffee weight and espresso weight. For example, 18 g of coffee producing 36 g of espresso is a 1:2 ratio. That is an illustration, not a required dose for every basket or coffee.
Use your roaster’s recommendation as a starting point. Note dose, yield, time and taste, then make a small adjustment and brew again. Give each coffee room for experimentation rather than treating one shot time as a universal measure of quality.
7. Establish your cleaning routine
Establish an espresso cleaning routine using the instructions for your specific machine and grinder. Daily care, regular chemical backflushing where directed and professional servicing support your equipment over time.
For your espresso machine, follow the guidance on wiping and purging the steam wand, rinsing the basket and portafilter, and caring for the group head. La Marzocco Home’s cleaning guide explains routine care in more detail.
For the Pico, switch off and unplug before cleaning, and follow the manual’s dry-cleaning instructions for the grinding system. Arrange annual servicing for your espresso machine and retain records of its care.
What equipment do you need for home espresso?
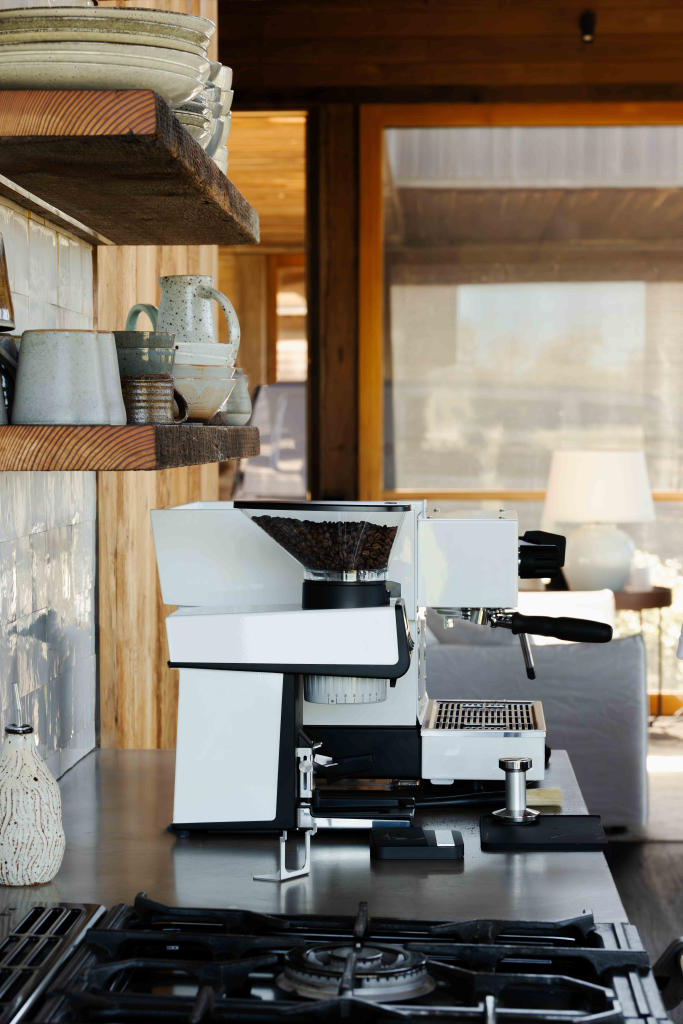
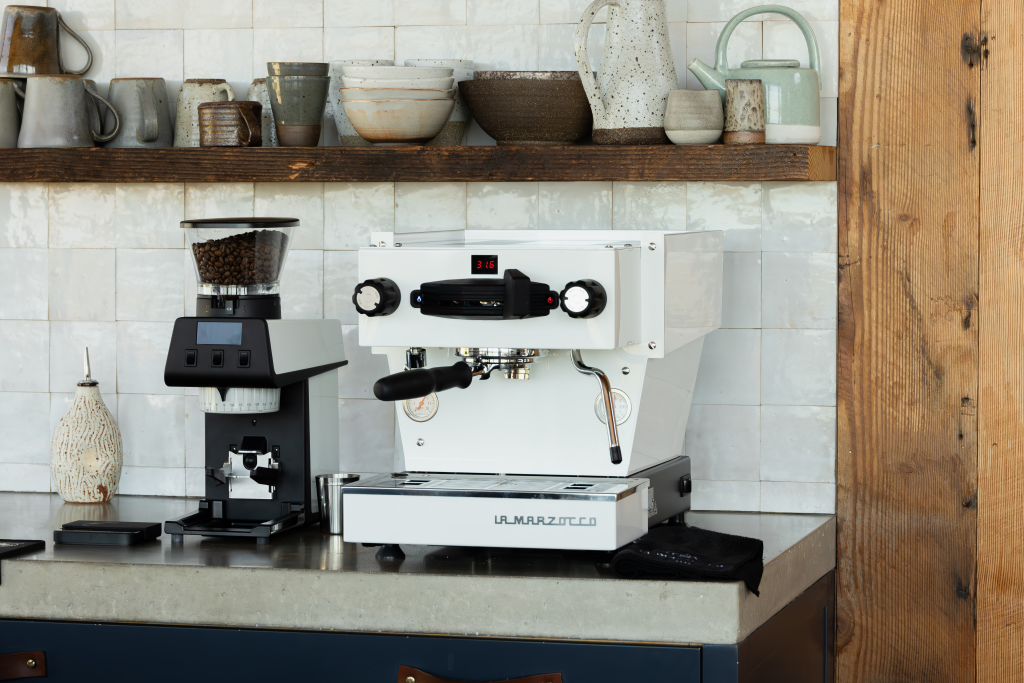
You need an espresso machine, an espresso-capable grinder, suitable water and tools for measuring and preparing your coffee. A scale and correctly sized tamper help you control the dose and prepare your basket; a pitcher supports milk drinks.
La Marzocco Home’s Linea Mini has dual boilers and dual PID temperature control. The Linea Micra also combines dual boilers with temperature control, while the Pico prepares freshly ground coffee for your chosen recipe.
Choose accessories around your actual preparation routine. Check what is included with the equipment and verify any optional accessory’s compatibility with your exact model before ordering.
How does water affect your espresso setup?
Water affects espresso flavour and the condition of your machine, so testing and suitable treatment belong in your setup plan. La Marzocco’s requirements address water composition rather than simply asking you to use any filtered supply.
Your location’s water characteristics determine the appropriate treatment. La Marzocco Home’s espresso water guide explains the relationship between brewing water and machine care. Test your chosen supply and follow the recommended filter-maintenance schedule.
For further reading, a review of brewing methods examines factors influencing coffee quality. Use La Marzocco’s model-specific water guidance for equipment suitability rather than substituting general brewing advice for installation requirements.
How La Marzocco Home supports your setup
La Marzocco Home supports your setup with espresso machines, grinding equipment and Australian guidance on water, maintenance and warranty. You can build your practice around the Linea Mini or Linea Micra, paired with a Pico grinder, and develop your recipe through measured preparation.
Explore the range and speak with our Australian team about the space, water and preparation routine you have in mind.
Home espresso setup FAQs
Do I need to plumb in my espresso machine?
No. The La Marzocco Linea Mini and Linea Micra have refillable water reservoirs, so a direct mains-water connection is not required for reservoir operation. If you prefer a plumbed-in installation, speak with La Marzocco Home about the requirements for your model and location.
Does the Linea Micra include a grinder?
No. The Linea Micra’s Australian product page states that its grinder is sold separately. La Marzocco Home’s Pico is an espresso grinder you can use alongside the machine. Check your order’s inclusions before purchasing additional equipment or accessories.
How do I measure an espresso recipe?
Use a scale to weigh the ground coffee entering the basket and the espresso reaching the cup. Record those measurements alongside shot time and taste. La Marzocco Home’s brew-ratio guidance helps you use those observations to refine a recipe for your coffee.
Does the Pico automatically dose by weight?
The standard Pico programmes doses by grinding time, not by automatically measuring each dose’s weight. Use a scale to check your dose, particularly after changing beans or grind settings. Verify any optional grind-by-weight accessories and their compatibility separately before purchase.
When should I arrange professional machine servicing?
La Marzocco Home’s Australian product guidance specifies servicing every 12 months for the Linea Mini and Linea Micra. Follow the cleaning and water requirements between services. Contact the Australian team to arrange appropriate technical support and check the applicable warranty terms.