So, you’ve done it. The espresso machine has arrived, and you’ve unpacked, set it up, and you’re ready to make your first cup. And you might be thinking to yourself…
Now what?
Here is where you get answers. Using a coffee machine at home for the first time can be daunting, but we are here to help you start with the basics and build on them as you go. We’re excited to guide you on your first brew!
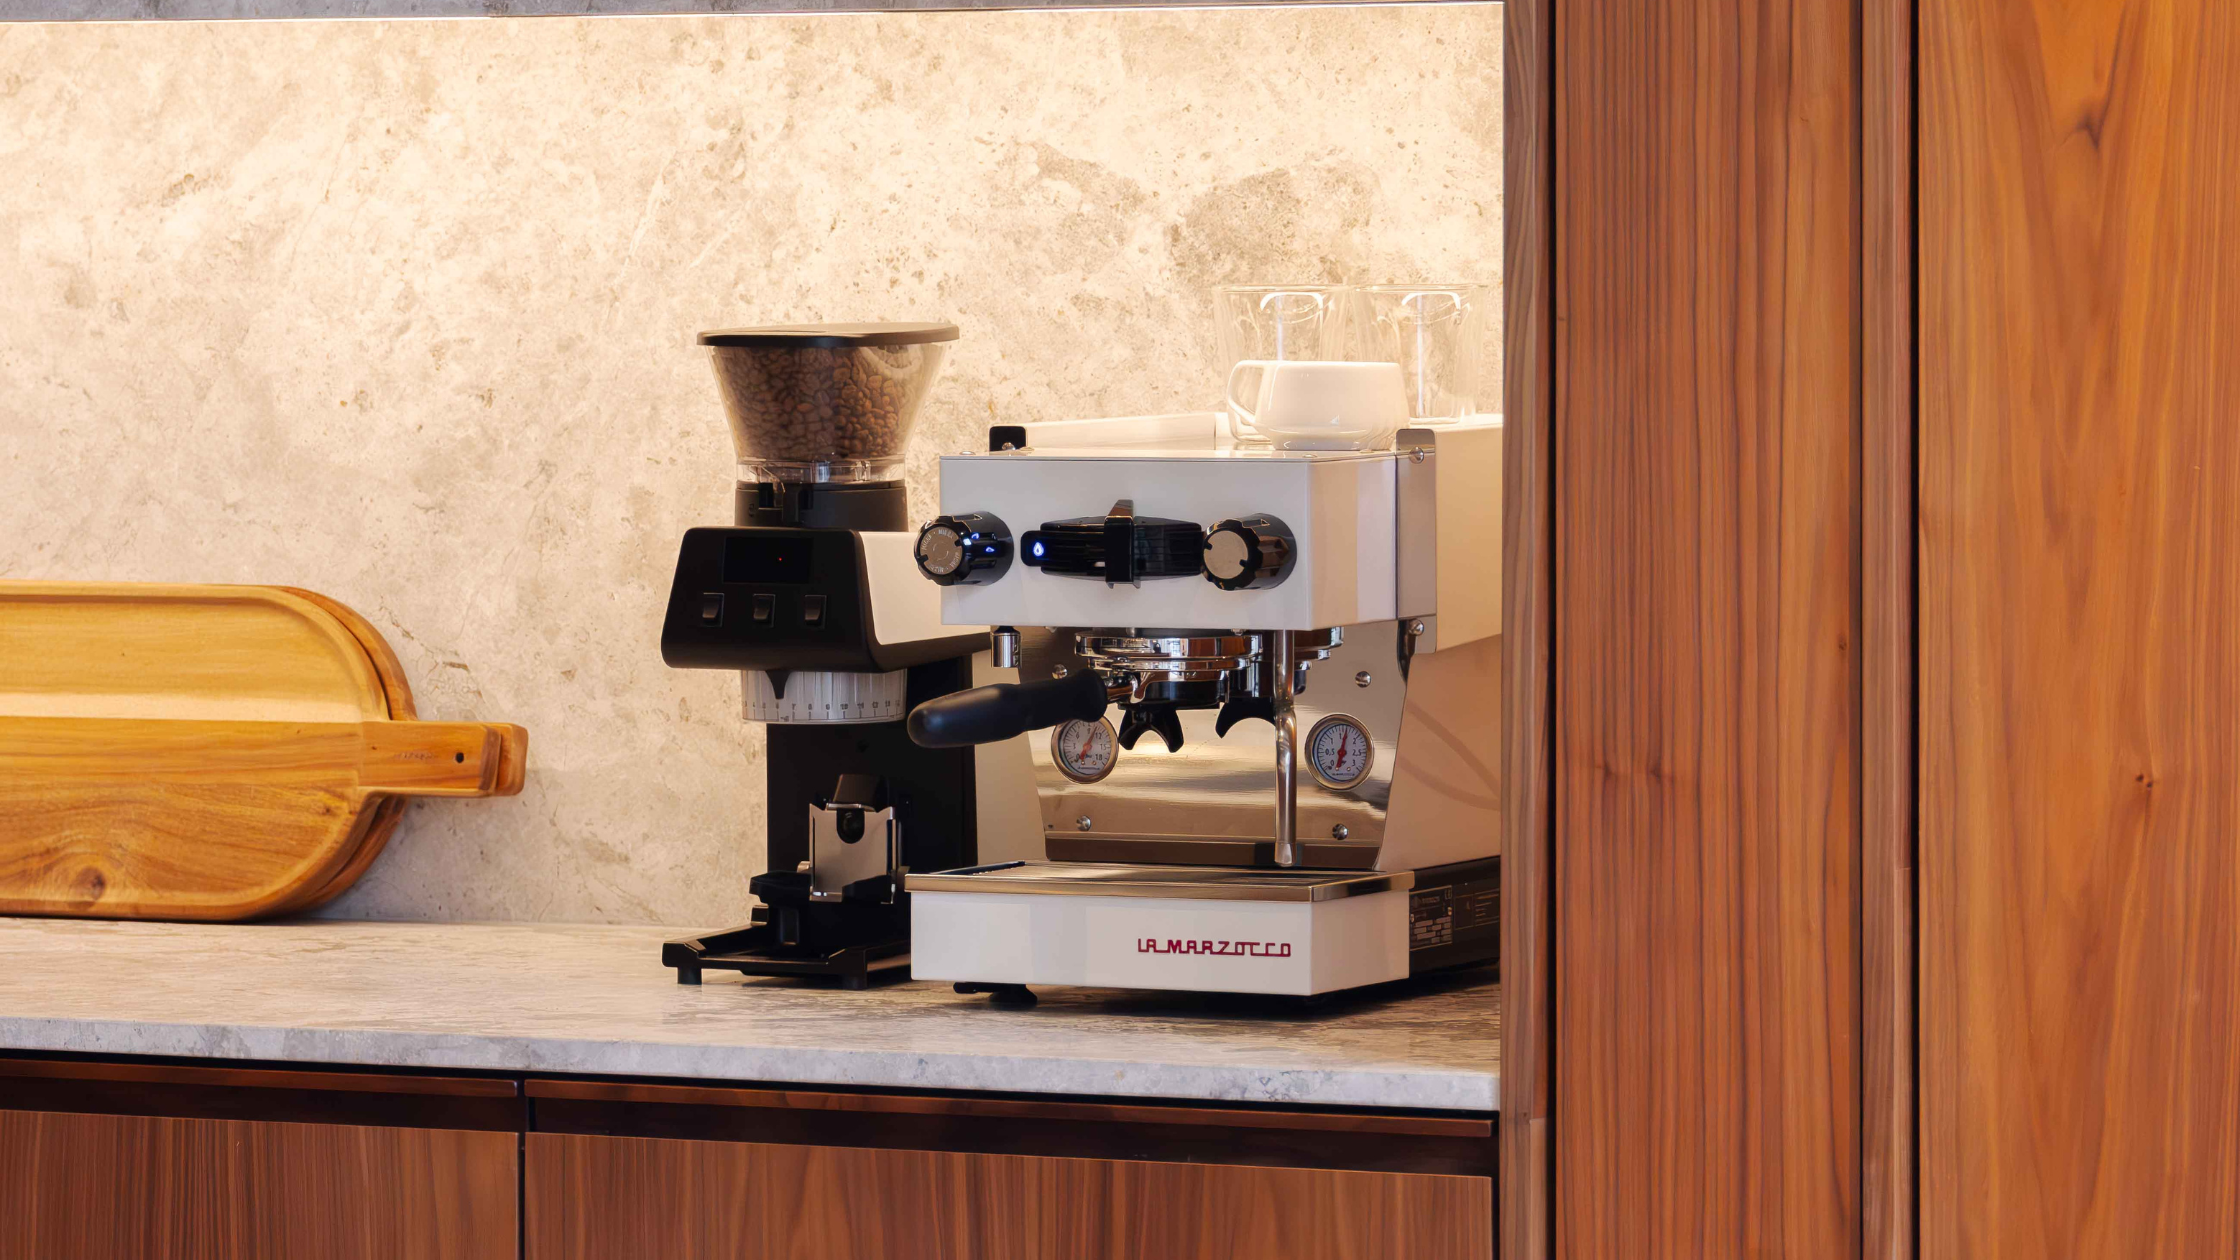
To keep things simple, we’ll be focusing on one particular model from the La Marzocco range throughout this guide: the Linea Micra. While a top-tier machine, it is also friendlier to beginners than others on the market, making it an excellent starting point for learning how to brew at home. Even if this is not the machine you have, you can still use this guide.
Note: We’ll be throwing some coffee lingo at you here and there, but don’t worry. We’ll explain everything as it comes up, so you can build out your brewing vocabulary.
Step 1: Get familiar with your machine.
Before we get to that first cup, it’s worth familiarising yourself with the key parts of your espresso machine. The portafilter is the handle that holds the coffee basket, and it locks into the group head, where hot water flows through the coffee. You’ll use the steam wand to heat and texture milk for lattes and cappuccinos, and the water reservoir to hold fresh water for brewing. Inside, the boiler works quietly to maintain the perfect temperature for both espresso and steam.
Think of this as learning the layout of your kitchen before cooking a new dish. Once you know what each part does, the whole process feels less intimidating.
The Linea Micra features double boilers, a PID, and temperature control. For now, this means operating your machine on factory settings to achieve consistent coffee quality.
Step 2: Warm up and prepare.
Espresso is about precision, first and foremost. Temperature plays a big role in that. Switch your machine on and give it 10 to 15 minutes to reach a stable heat. This warms the water in the double boilers and also gives the group head and portafilter a chance to take on some heat.
While this warms, make sure you fill that reservoir with fresh, filtered water. Distilled works too. This prevents scale from tap water building up inside your machine, and it will give you a much cleaner flavour in the cup. Read more about our water requirements here.
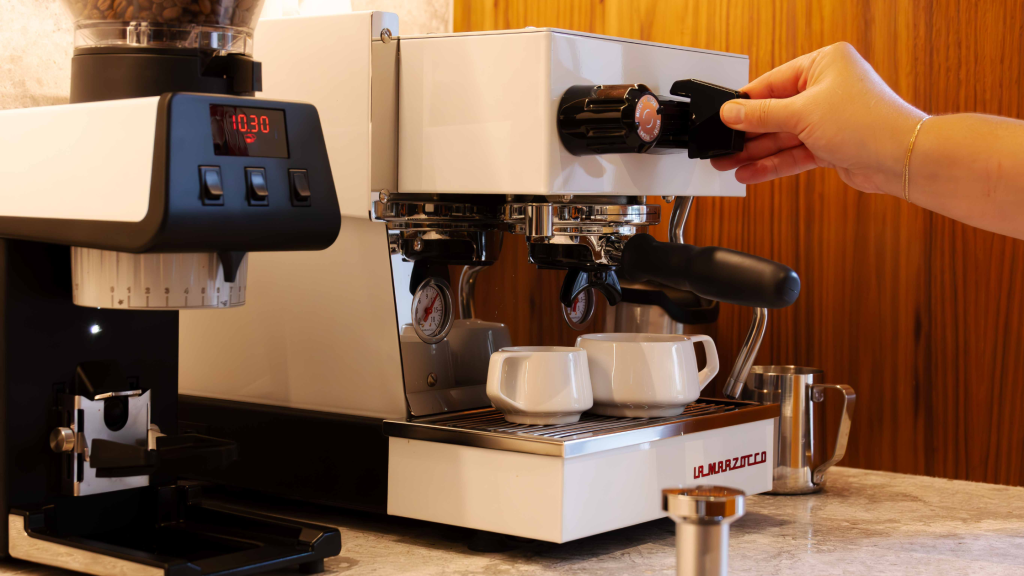
If you want to, the Linea Micra has a warming tray on top of the machine. You can place your cups here—rims down—to help the cups catch some heat. Warm cups hold the heat of espresso much better than cold ones, so you’ll taste every nuance from that very first sip.
Step 3: Grind, and dose.
Coffee is at its best when freshly ground. Pre-ground coffee loses flavour quickly, so using a burr grinder at home is one of the biggest upgrades you can make. That said, if you have to use pre-ground, your machine will still work beautifully. For espresso, you’ll want a grind that feels fine, similar to table salt.
The ‘dose’ refers to the measurement of coffee grounds you place into the portafilter. For the Linea Micra, this usually means about 18 to 20 grams of ground coffee in the basket. If you want to use scales initially to help stay consistent, this can make it easier to detect any differences if you adjust your grind later on. Don’t worry if this feels a bit like guesswork at first; espresso making is a matter of muscle memory. You’ll get there!
Step 4: Tamp.
‘Tamping’ is the act of compressing your coffee into a neat, even bed before brewing. Place your portafilter on a flat surface, hold your tamper level, and press firmly until the grounds feel compacted. The goal is an even surface without cracks or loose spots. That way, when hot water flows through, it meets resistance equally across the bed.
Be careful here. Too firm and you’ll make a puck that the water can’t flow through. Too loose and the coffee won’t extract properly. Remember, this takes practice, so you’ll likely need to pull quite a few shots before you get the tamp perfect. That’s okay! It’s practically a rite of passage for any at-home barista.
A great tamp will encourage a balanced extraction (which is a fancy way of saying the coffee will taste more harmonious; not too sour, not too bitter).
Step 5: Pull the shot.
With your portafilter ready, lock it into the group head and place your warmed cup beneath the spouts. Start the extraction and watch closely. You’re aiming for around 25 to 30 seconds from the moment the shot begins. The stream should flow steadily, like warm honey, and you’ll want roughly 36 to 40 grams of espresso from a double shot.
Don’t be discouraged if it isn’t perfect right away. Espresso is all about small adjustments: if the shot runs too quickly, your grind is probably too coarse; if it tastes bitter and takes too long, it’s likely too fine. Each attempt teaches you a little more about how your beans respond.
Step 6: Steam and texture your milk.
For many, espresso is only half the journey. Milk-based drinks like flat whites, cappuccinos, and lattes all start with properly textured milk. Begin with fresh, cold milk in a clean jug. Submerge the steam wand just under the surface and turn it on. You’ll hear a gentle hiss as air is introduced.
As the milk warms to about body temperature, lower the jug slightly to create a whirlpool effect. This rolling motion integrates the foam into the milk, resulting in a silky texture known as microfoam. When the jug feels hot to the touch but not scalding—about 60 to 65°C—you’re ready to stop. The result should look glossy and smooth, not bubbly.
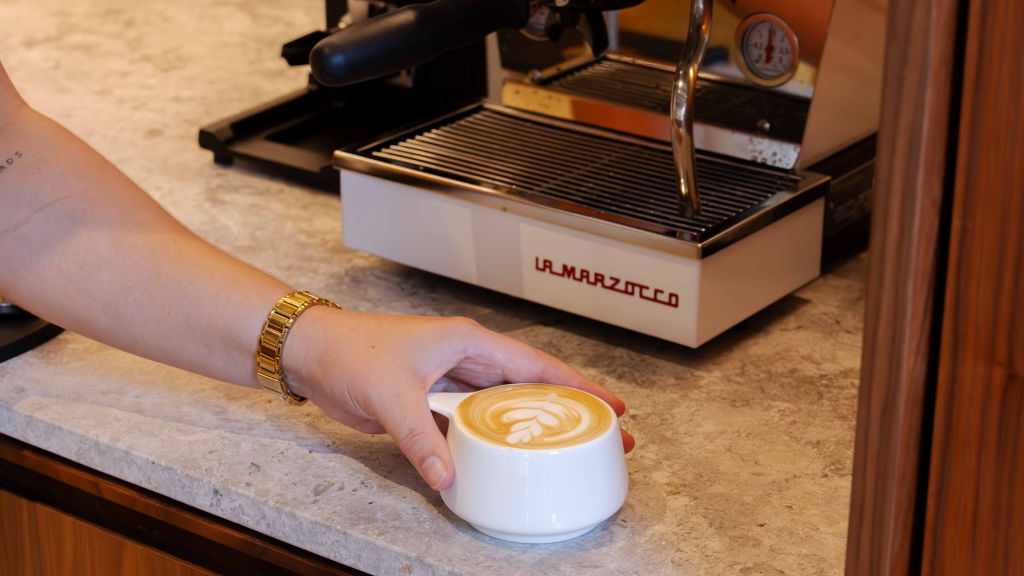
Pour the milk gently over your espresso, letting it fold in naturally. With a little practice, you’ll be pouring café-style patterns before long.
If this piece of the puzzle feels a bit intimidating, we’ve gone into it further in our guide to steam milk like a pro barista.
Along the way, you’ll be running into some similar learning curves as other beginner baristas in your position. You might pull a sour shot, or your milk might foam strangely, or you just might not get some little pieces quite right. That’s okay! The joy is in the routine of it.
You’ll notice that making espresso—weighing your grounds, pulling the shot, steaming—becomes a bit of a ritual. If you have a Linea Micra with you, that ritual is even better served by a long tradition of Italian café culture, just in your own kitchen.
So if there’s one thing we can leave you with, it’s this: take your time. Don’t get discouraged if you don’t get it on the first try. None of us did! But you’ll earn your stripes soon, and before long, you’ll have guests clutching their cups like they never want to leave.
Still need a machine? Join the long line of Linea Micra brewers.
The Linea Micra is perfect for any barista just finding their sea legs. With top-notch engineering reminiscent of our more professional models packed into an at-home footprint, the Micra is everything you need. Bring one home with you today.